

Rosemary and Olive Focaccia Bread
Category :
My husband had picked up Focaccia bread and I’d made this delicious Focaccia Bread Pizza! The boys couldn’t have enough of it and I was tempted to make the Focaccia Bread myself. So I did and it actually is quite easy and turned out great! 🙂 I followed the recipe by Anne Burrell with some modifications.
What you’ll need:
- Active Yeast – 2 1/4 tsps or 1 packet
- Sugar – 1 tbsp
- Water – 1 3/4 cups
- Salt – 1 tbsp
- All Purpose Flour – 5 cups
- Olive Oil – 1/2 cup + 1/2 cup
- Olives – approximately 25
- Fresh Rosemary chopped – 1 tbsp
- Coarse Salt for sprinkling
Method:
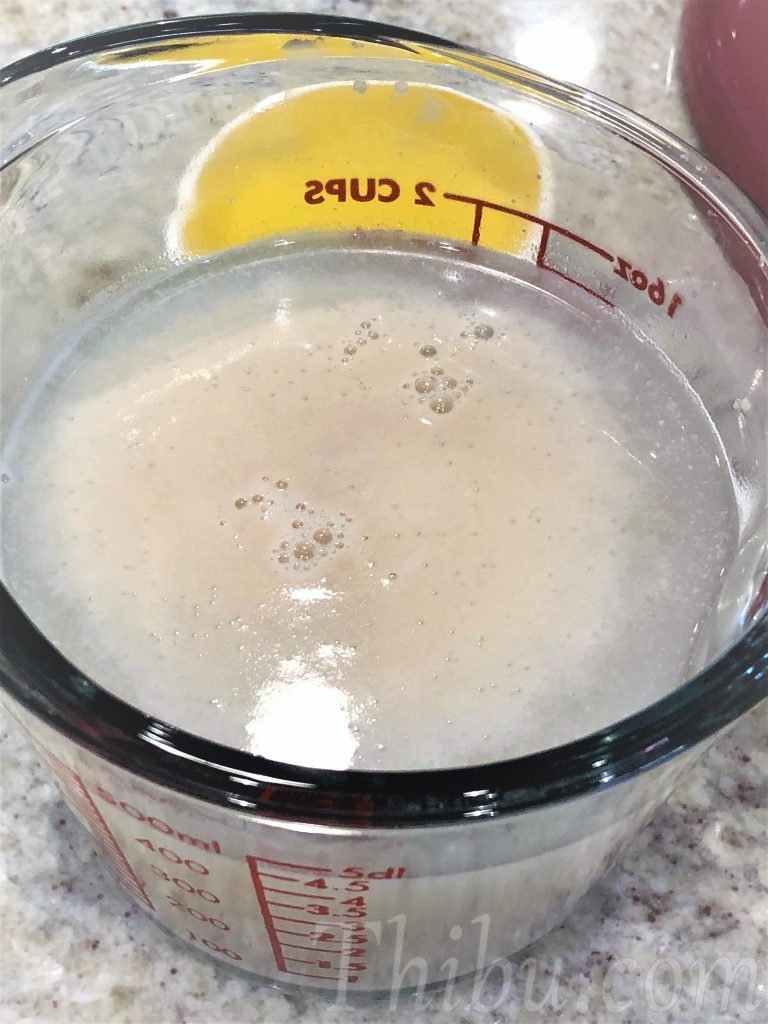
- Warm the water to about 110 deg (I microwave for about 30 seconds). Add the Yeast and Sugar. Mix and set aside for 15 minutes. It will get foamy.
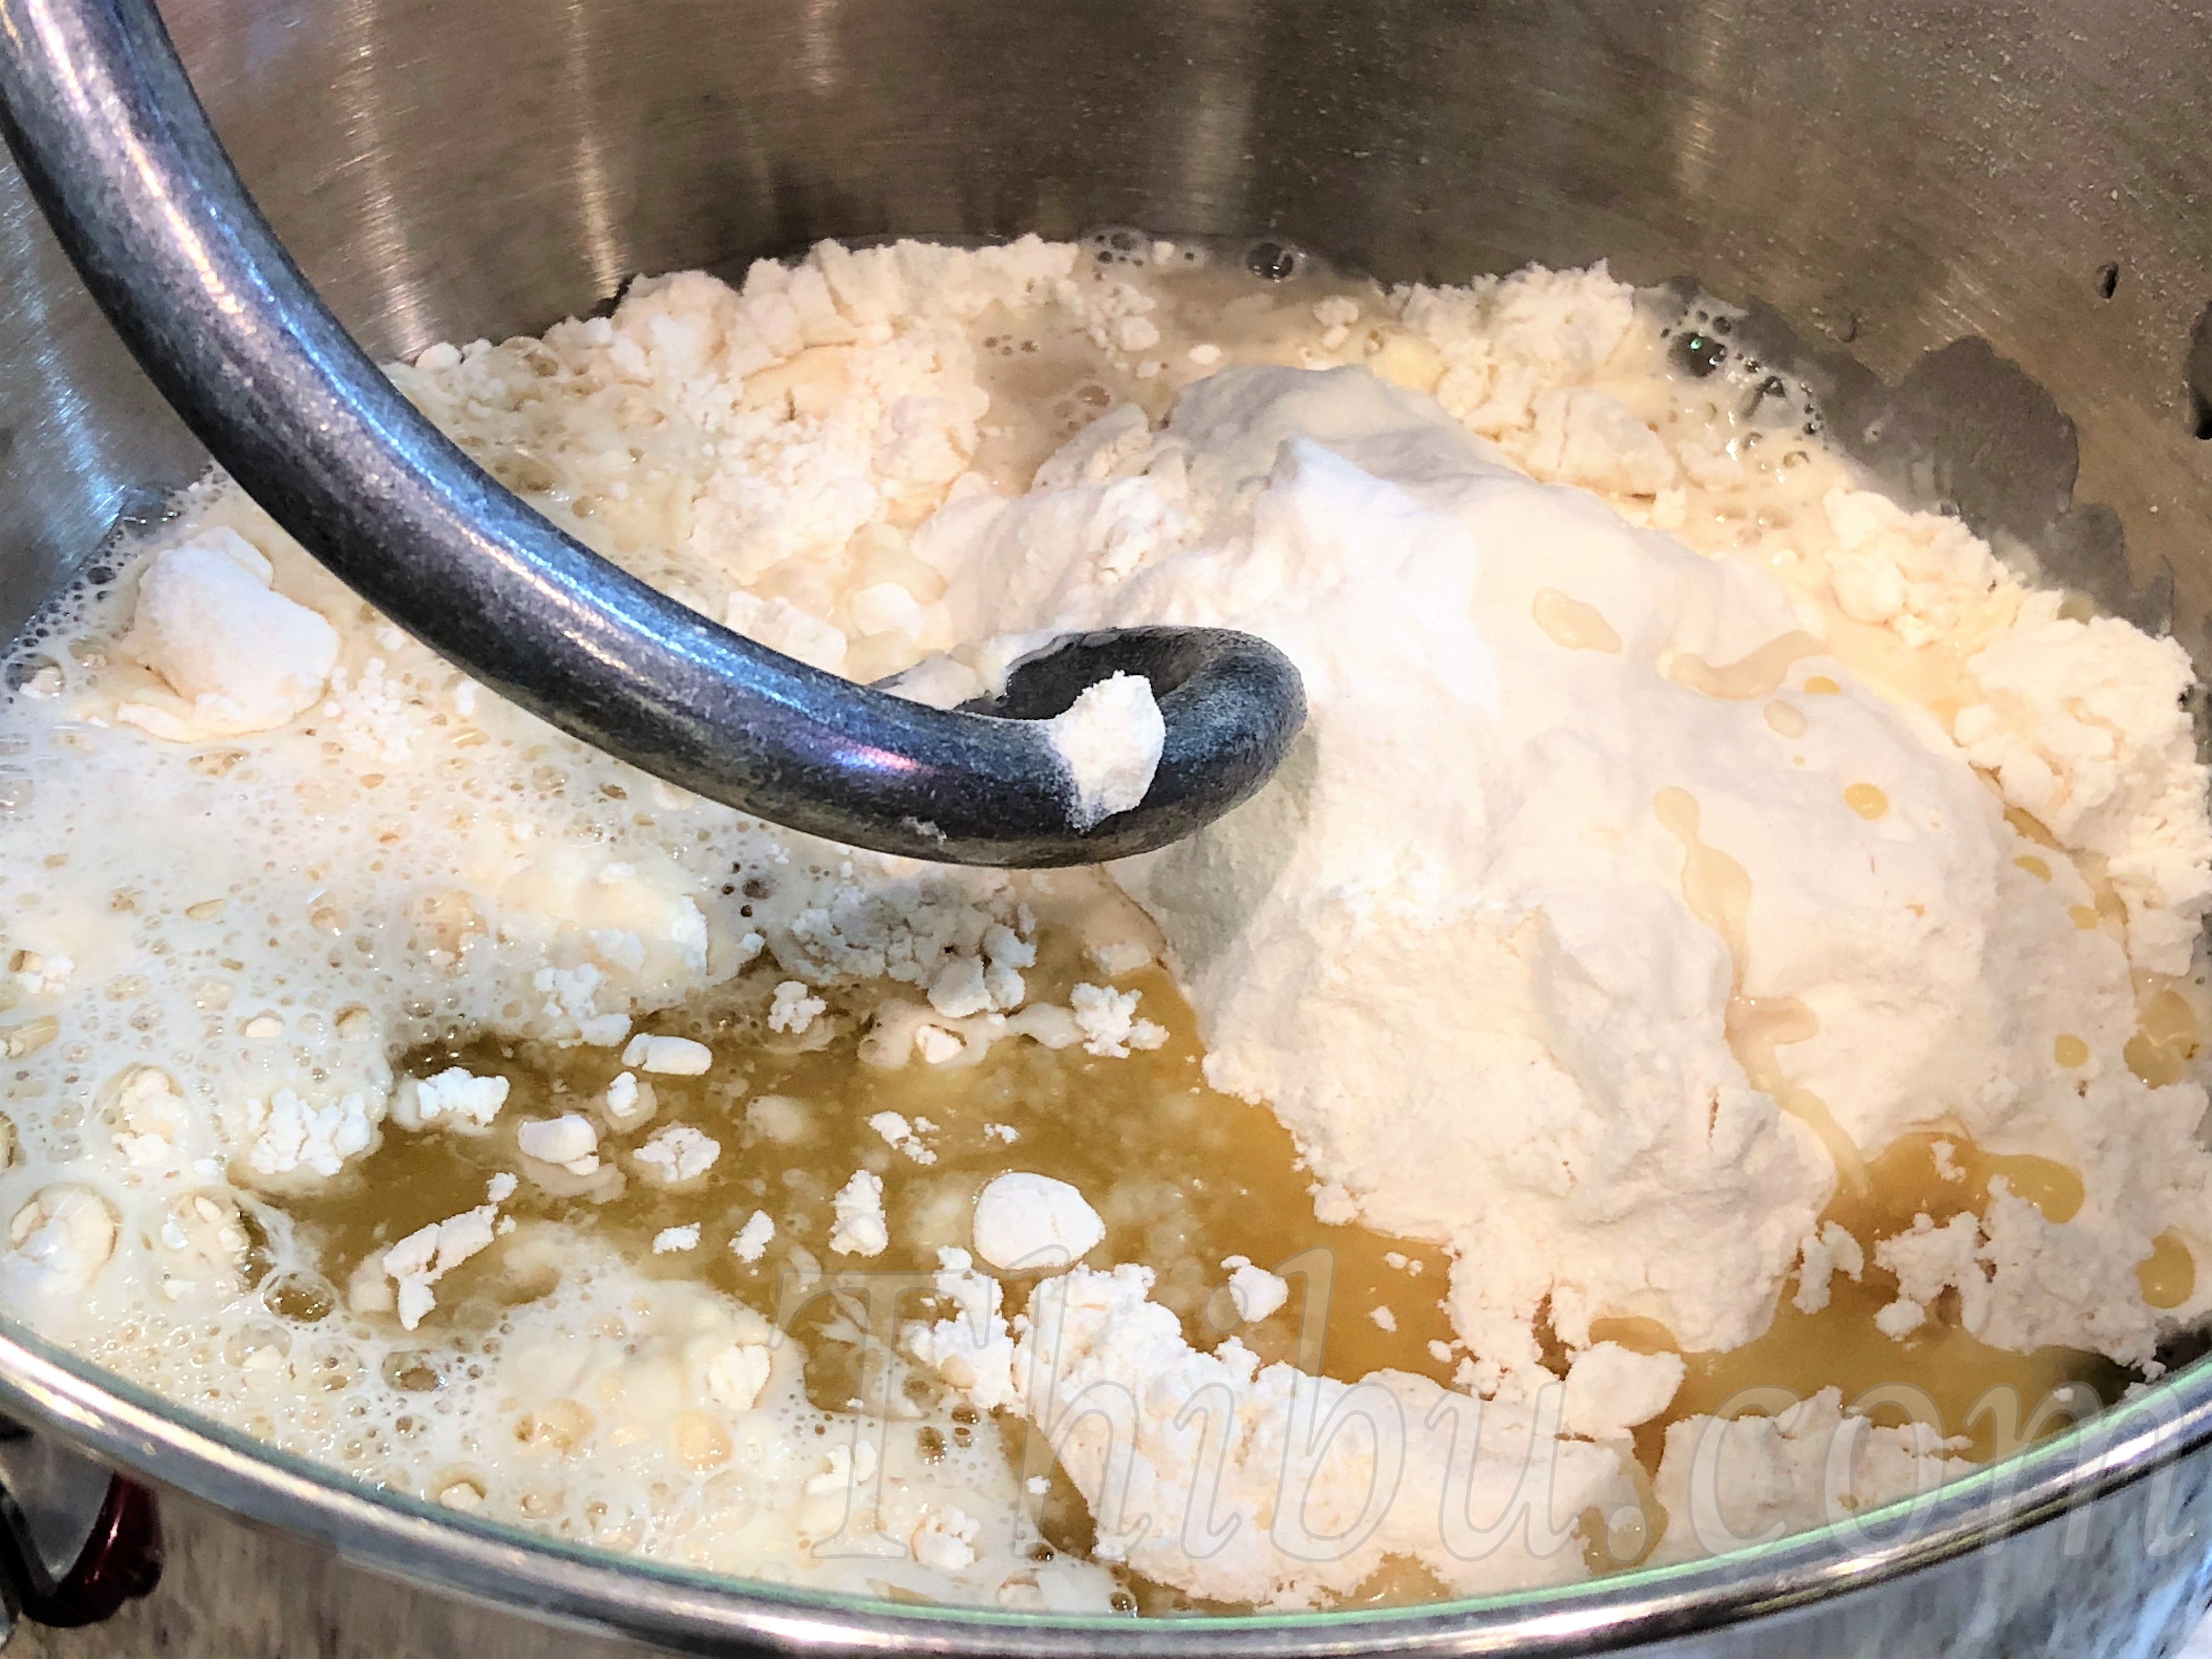
- In a stand mixer, add the Flour and Salt. Pour the 1/2 cup Olive Oil and the Yeast mixture.
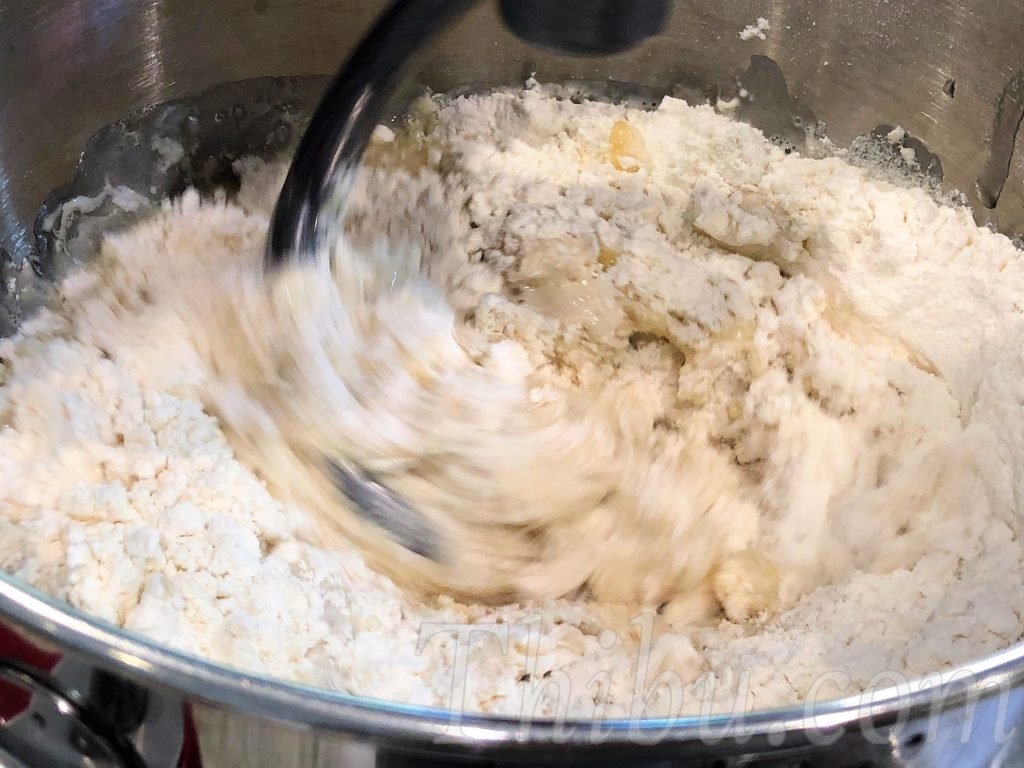
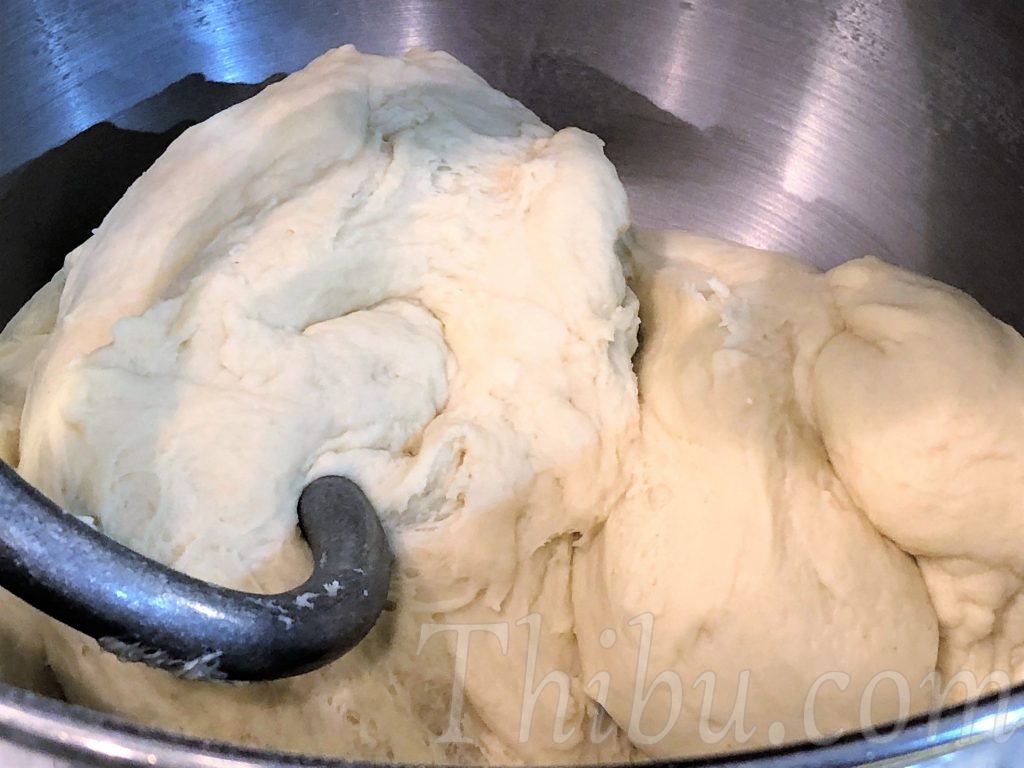
- Mix until the dough comes together and continue to mix for another 5-6 minutes. (You can do the same by hand and knead well)
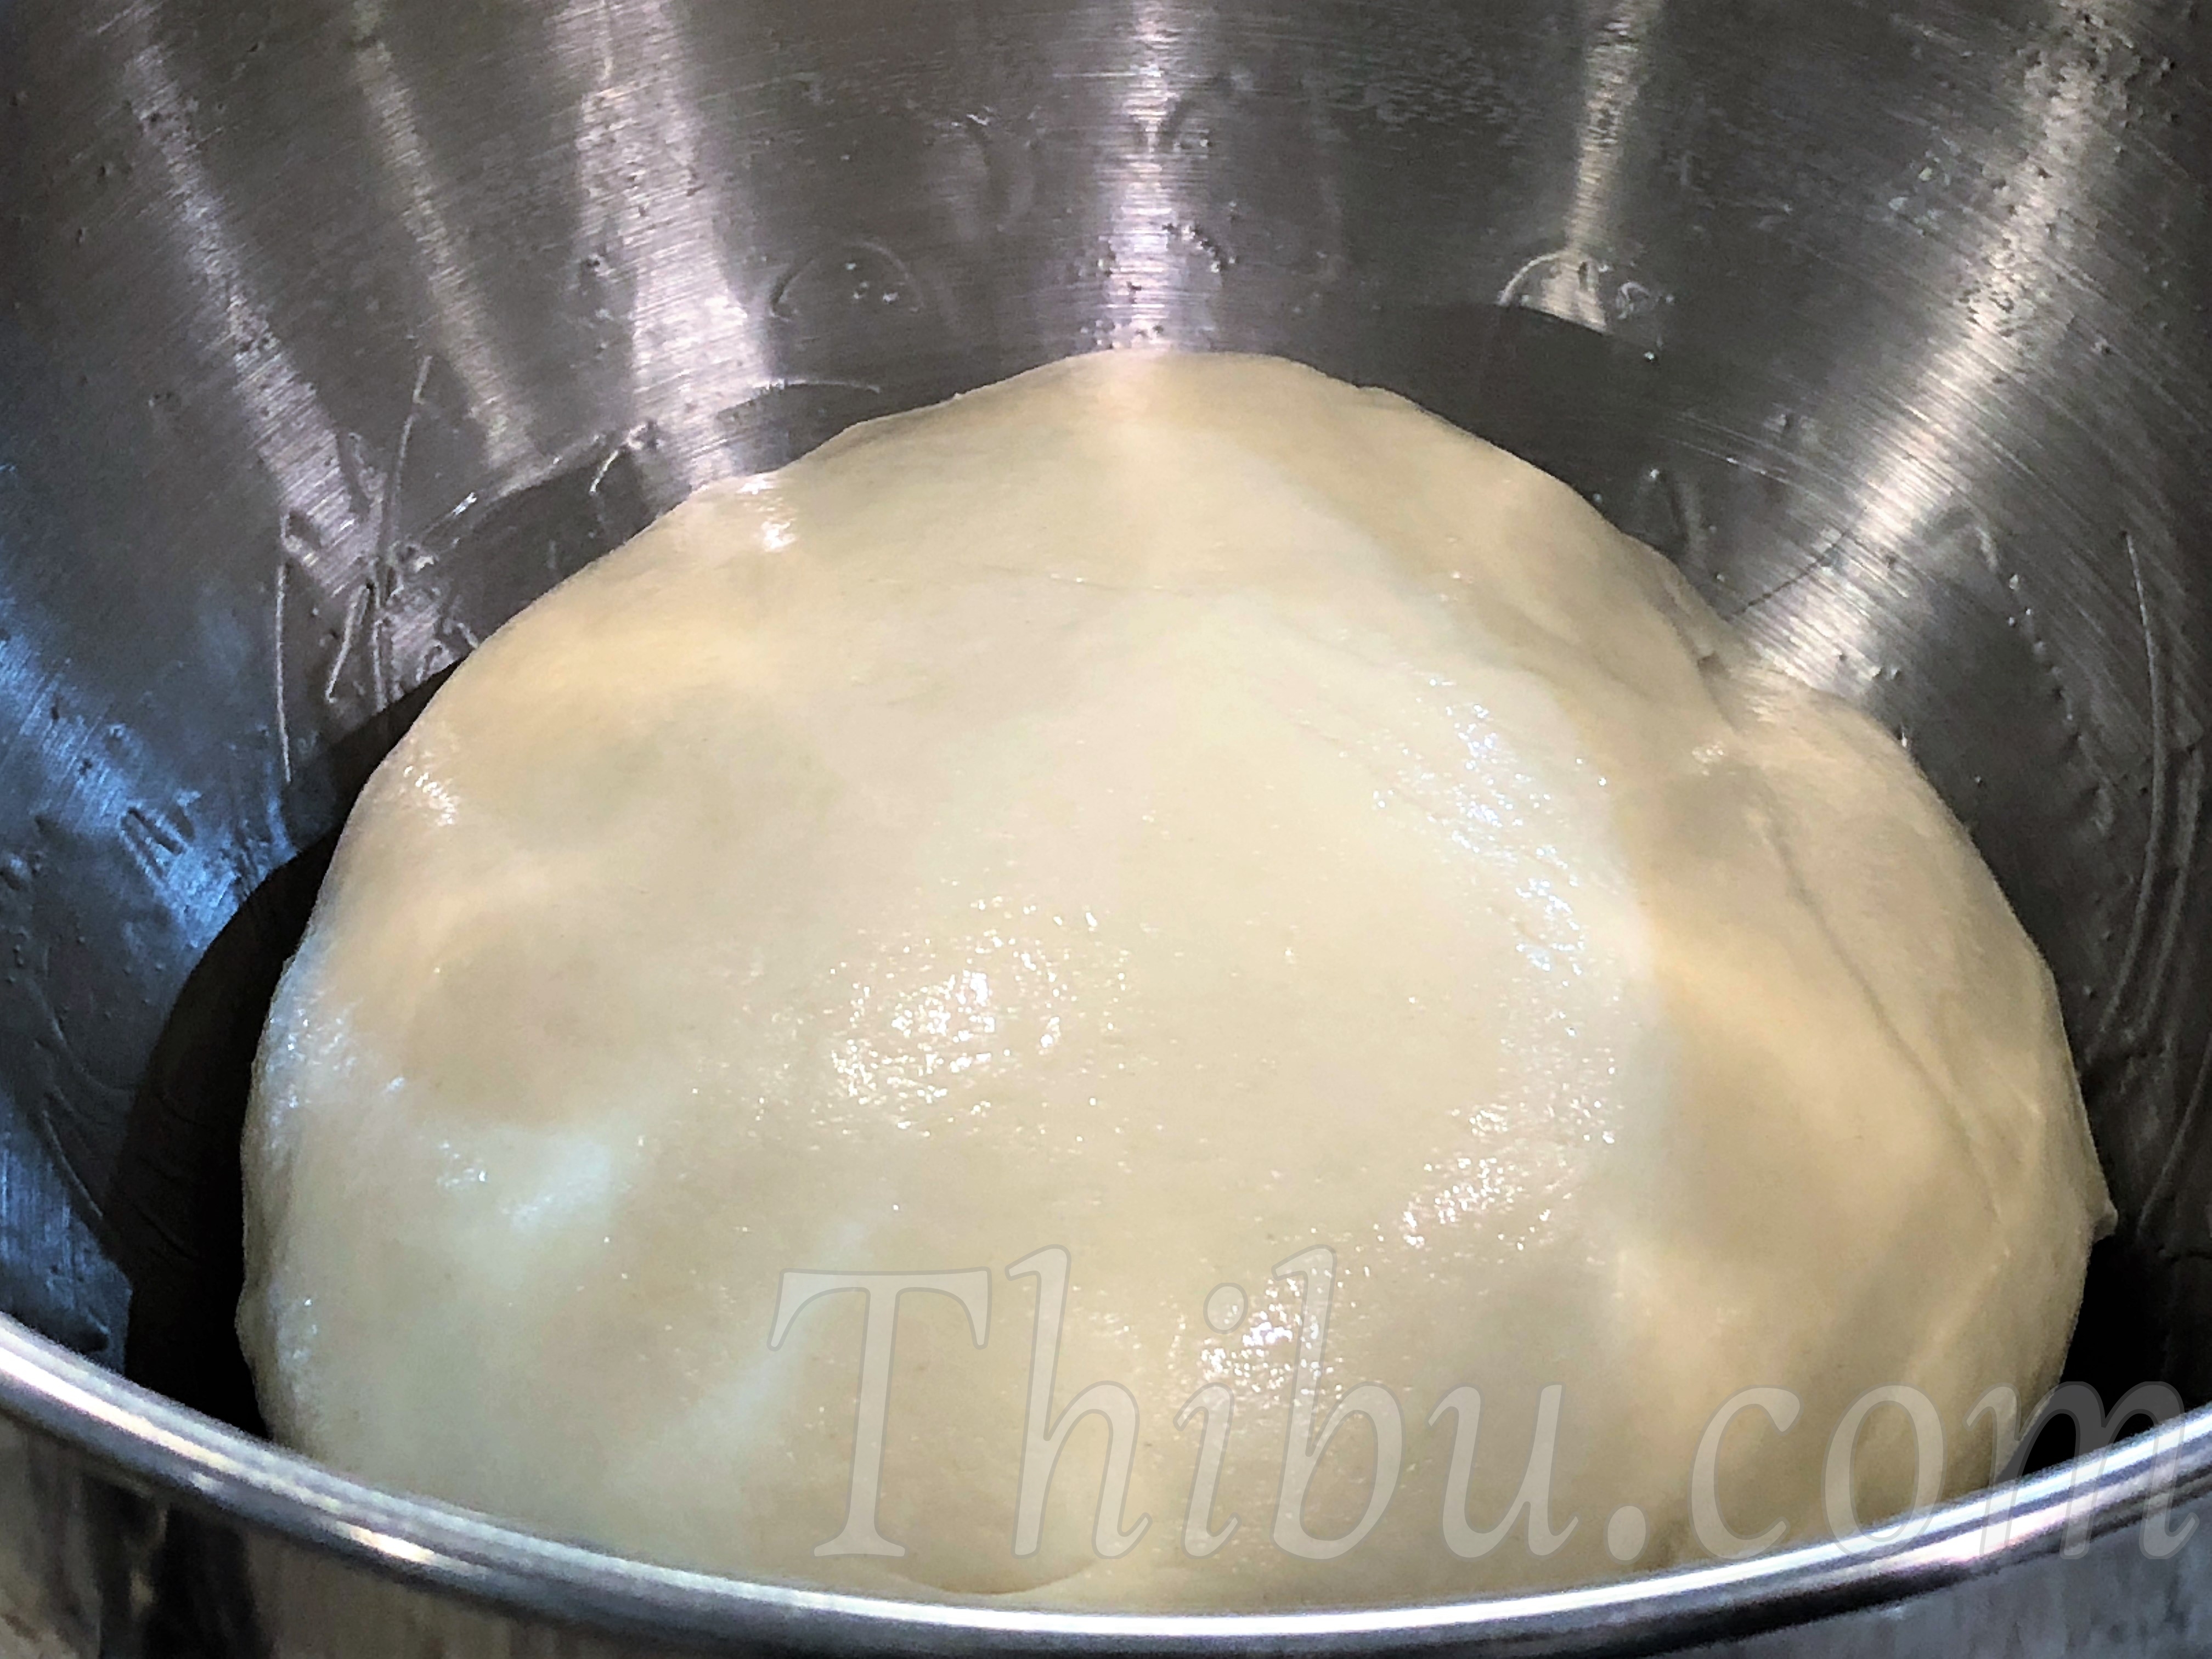
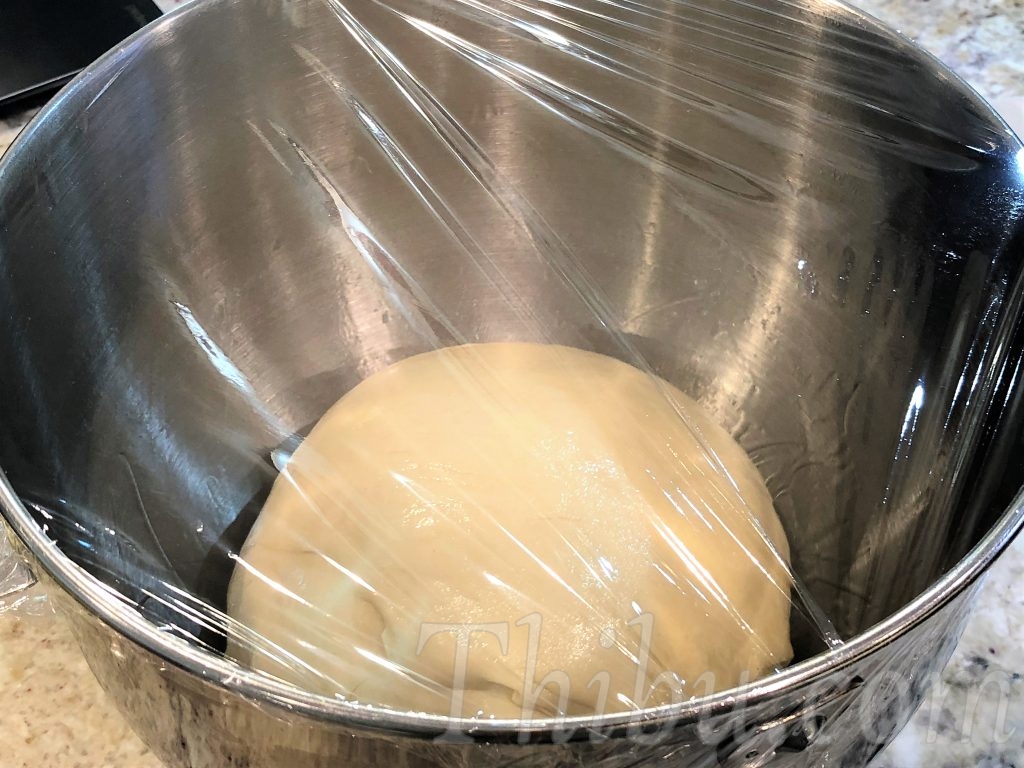
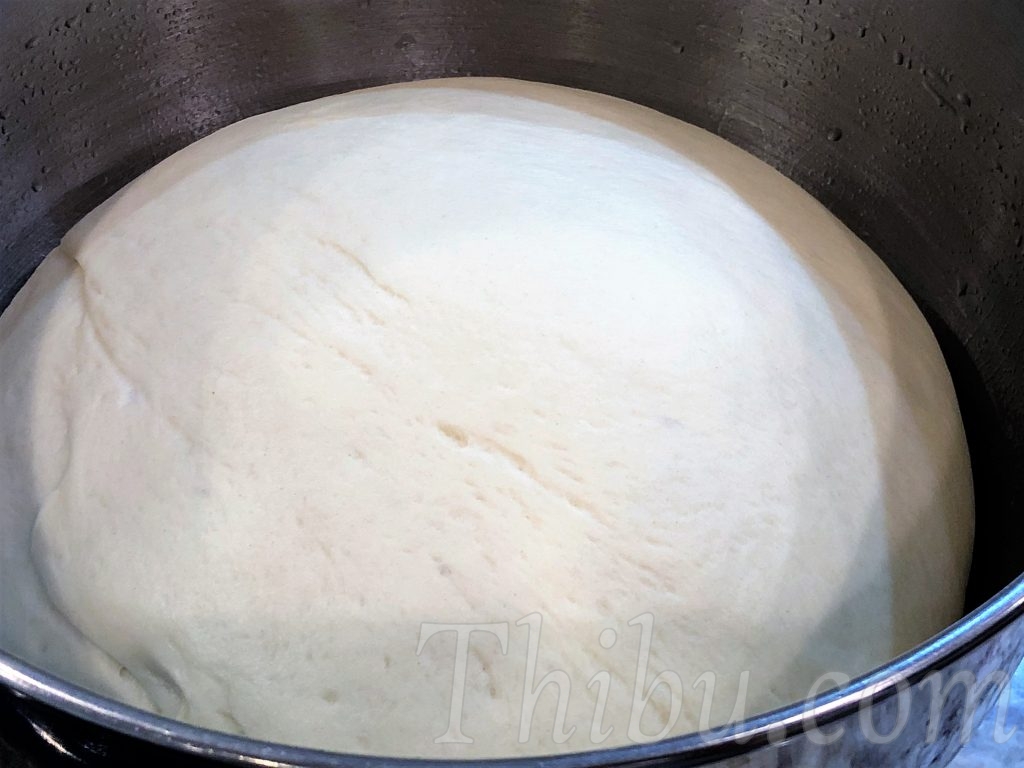
- Take the dough out and coat the bowl with a bit of Olive Oil. Place the dough back, coating it with oil all around, and cover with a plastic wrap or towel. Place in a warm place to proof for an hour. Dough will have doubled in size.
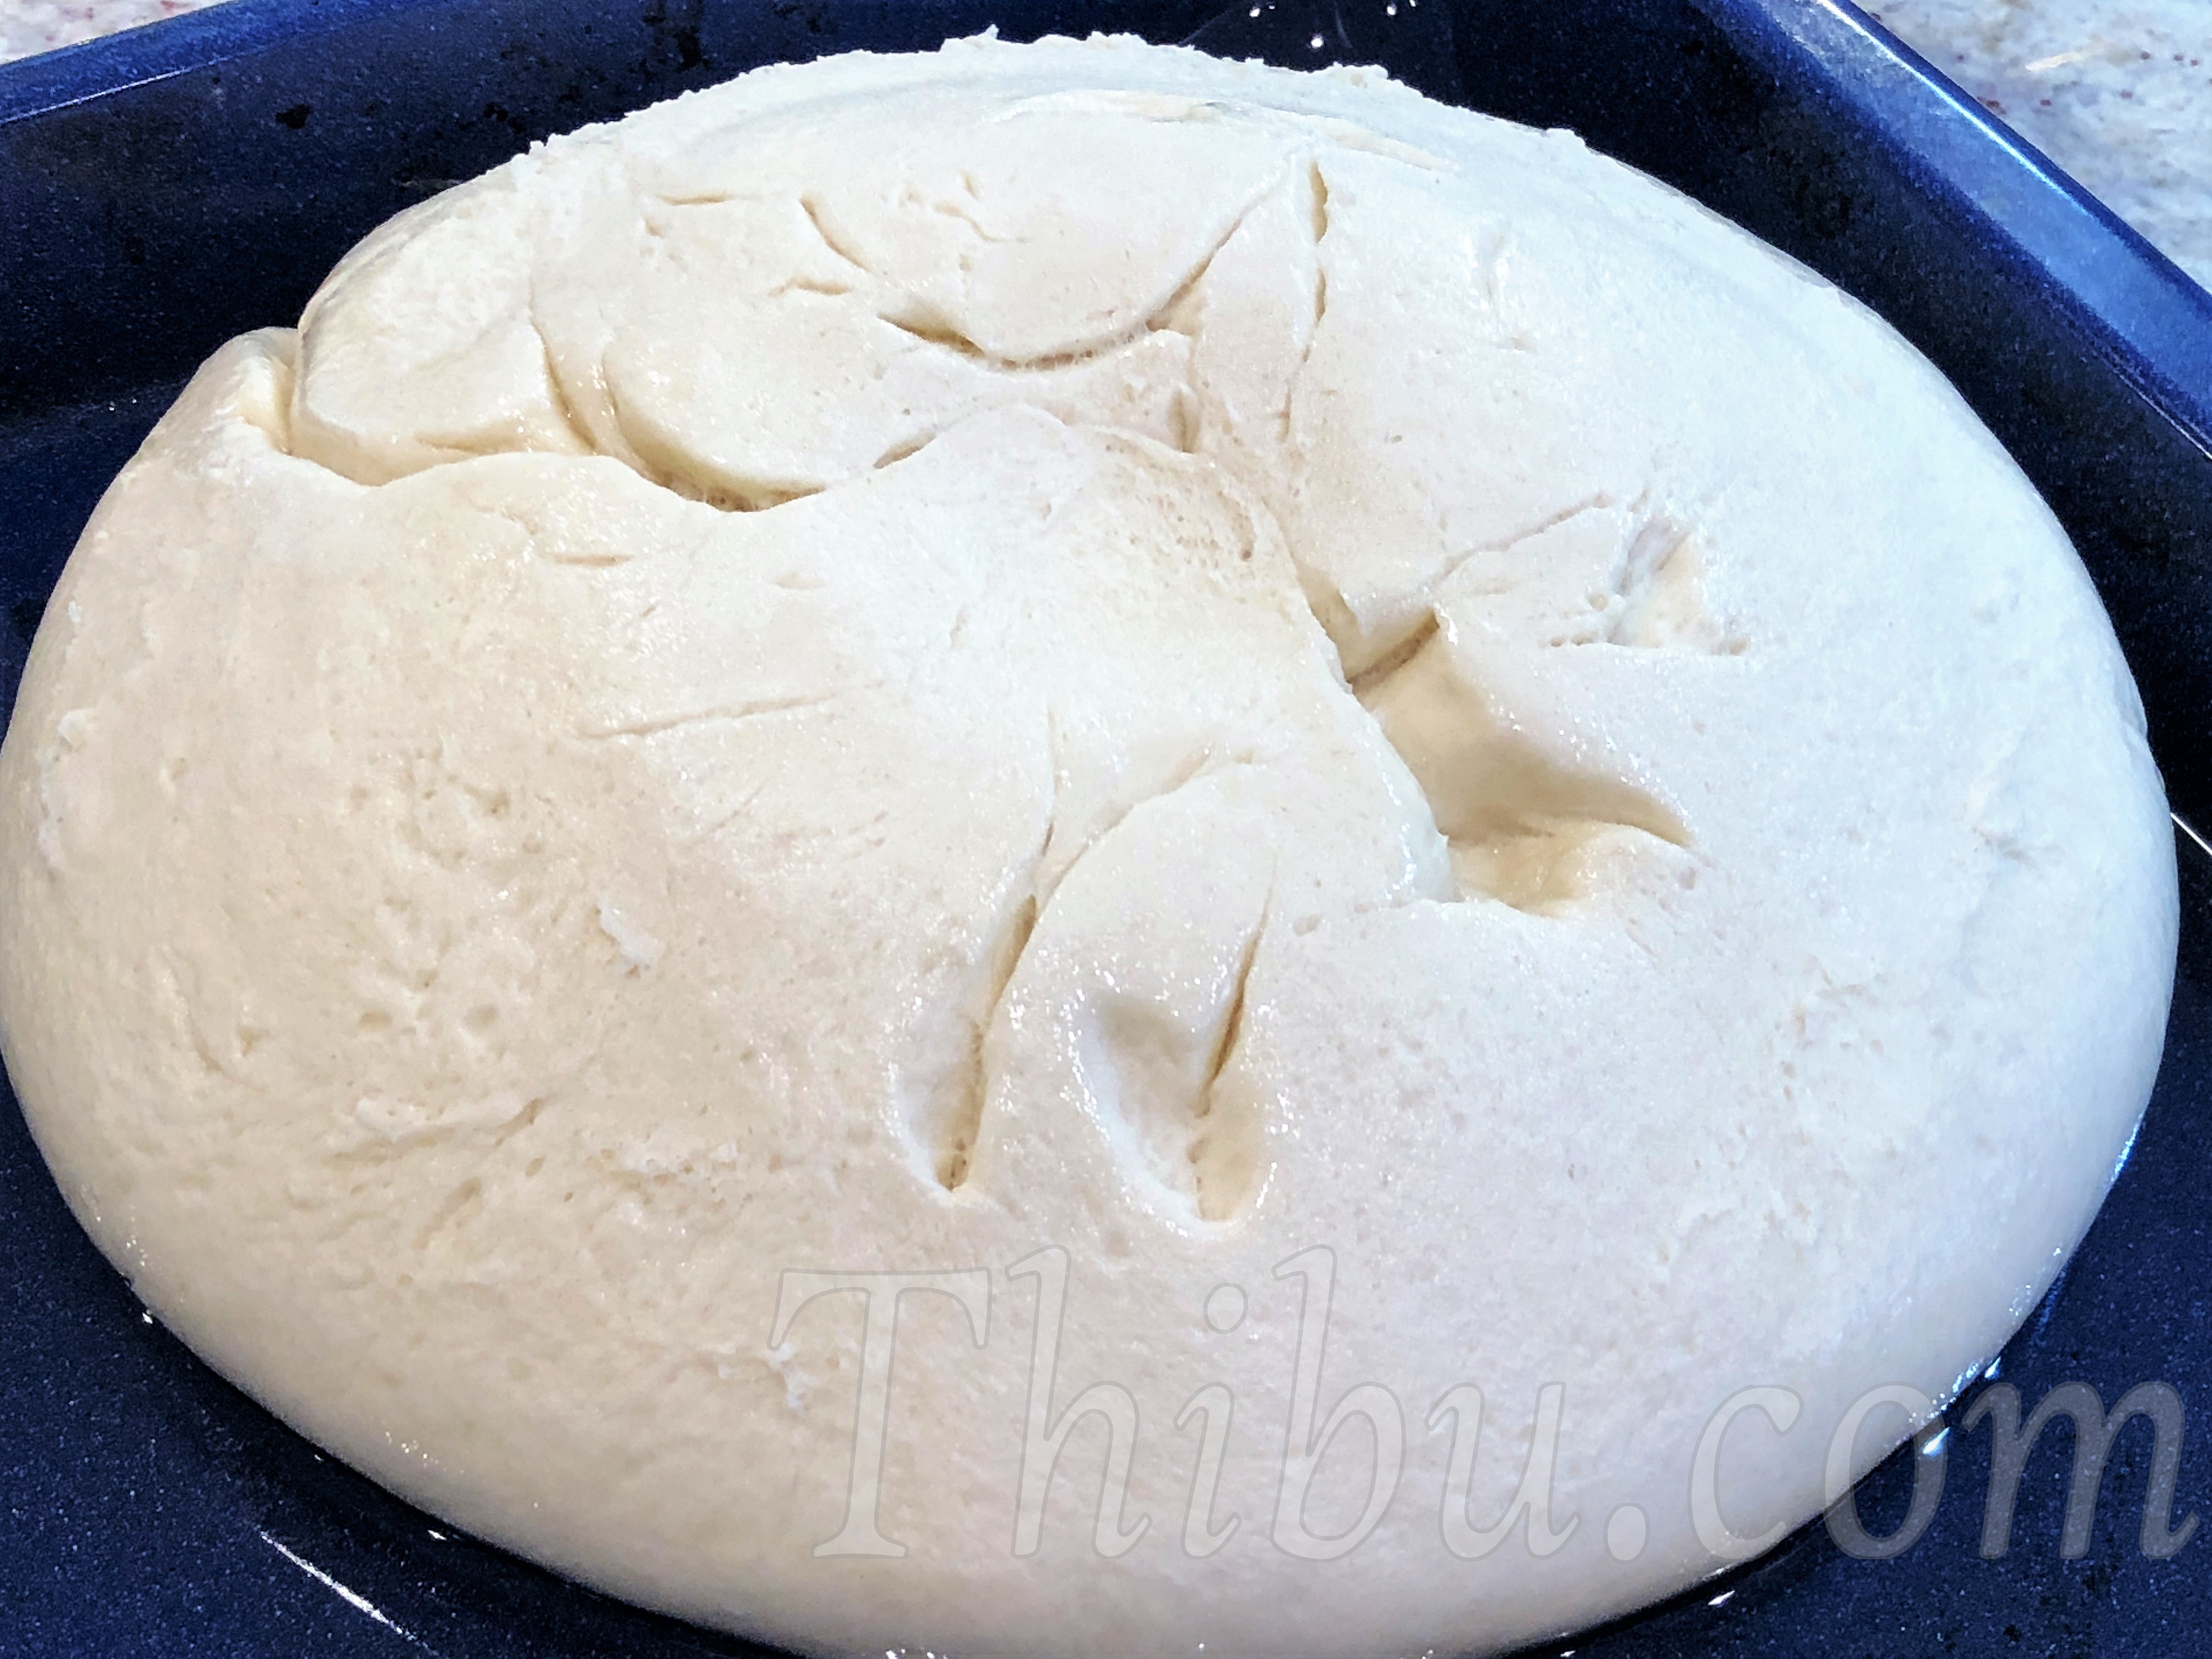
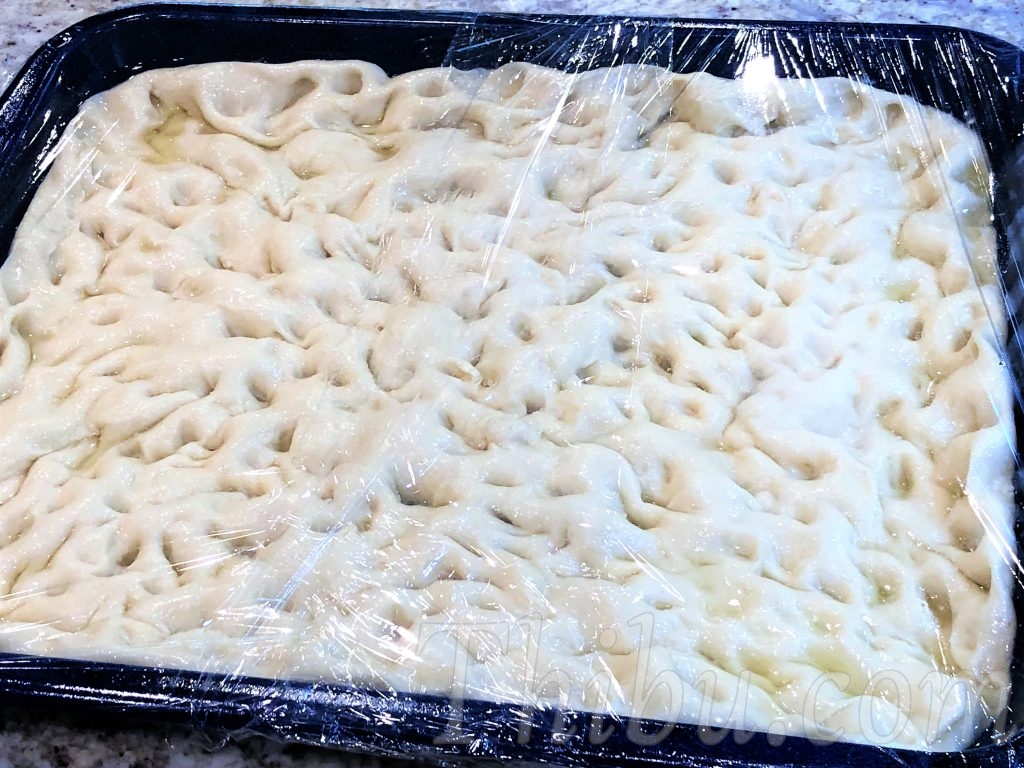
- Pour the remaining 1/2 cup Olive Oil into a baking tray. Place the dough and press it down with fingers to cover the tray. Flip the dough while pressing in, so that both sides are coated in oil. Make deep holes (as shown in pic).
- Cover with plastic wrap and set aside for a second proof for another hour.
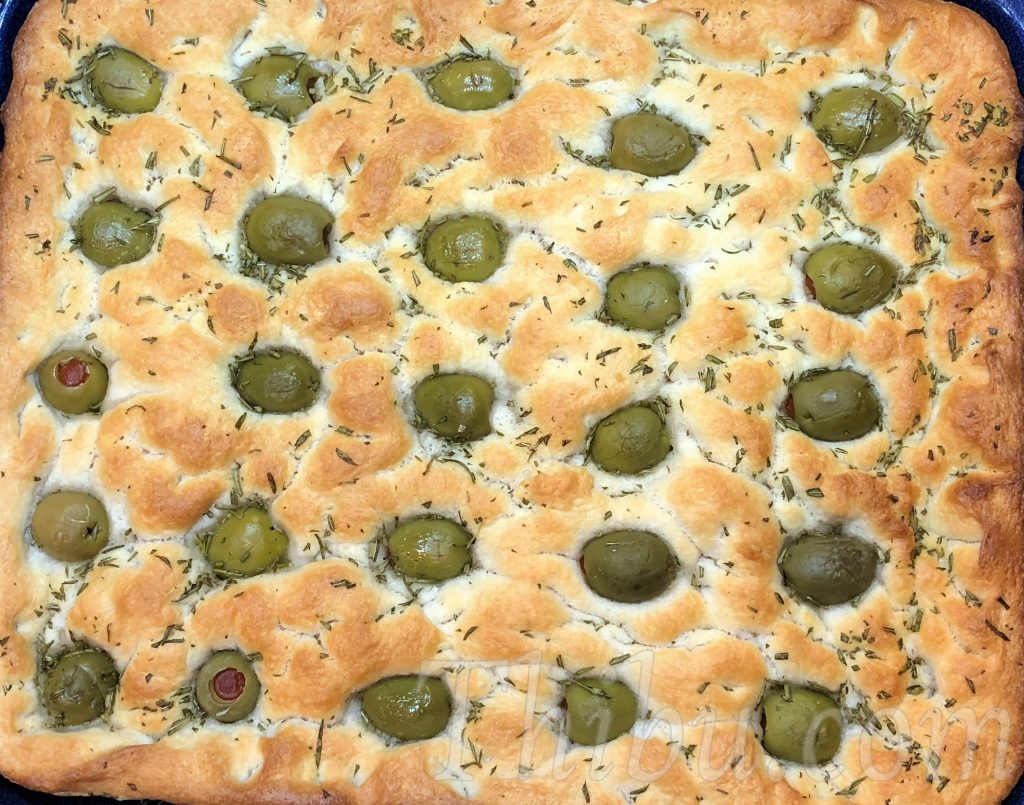
- Pre-heat the oven to 425 deg F.
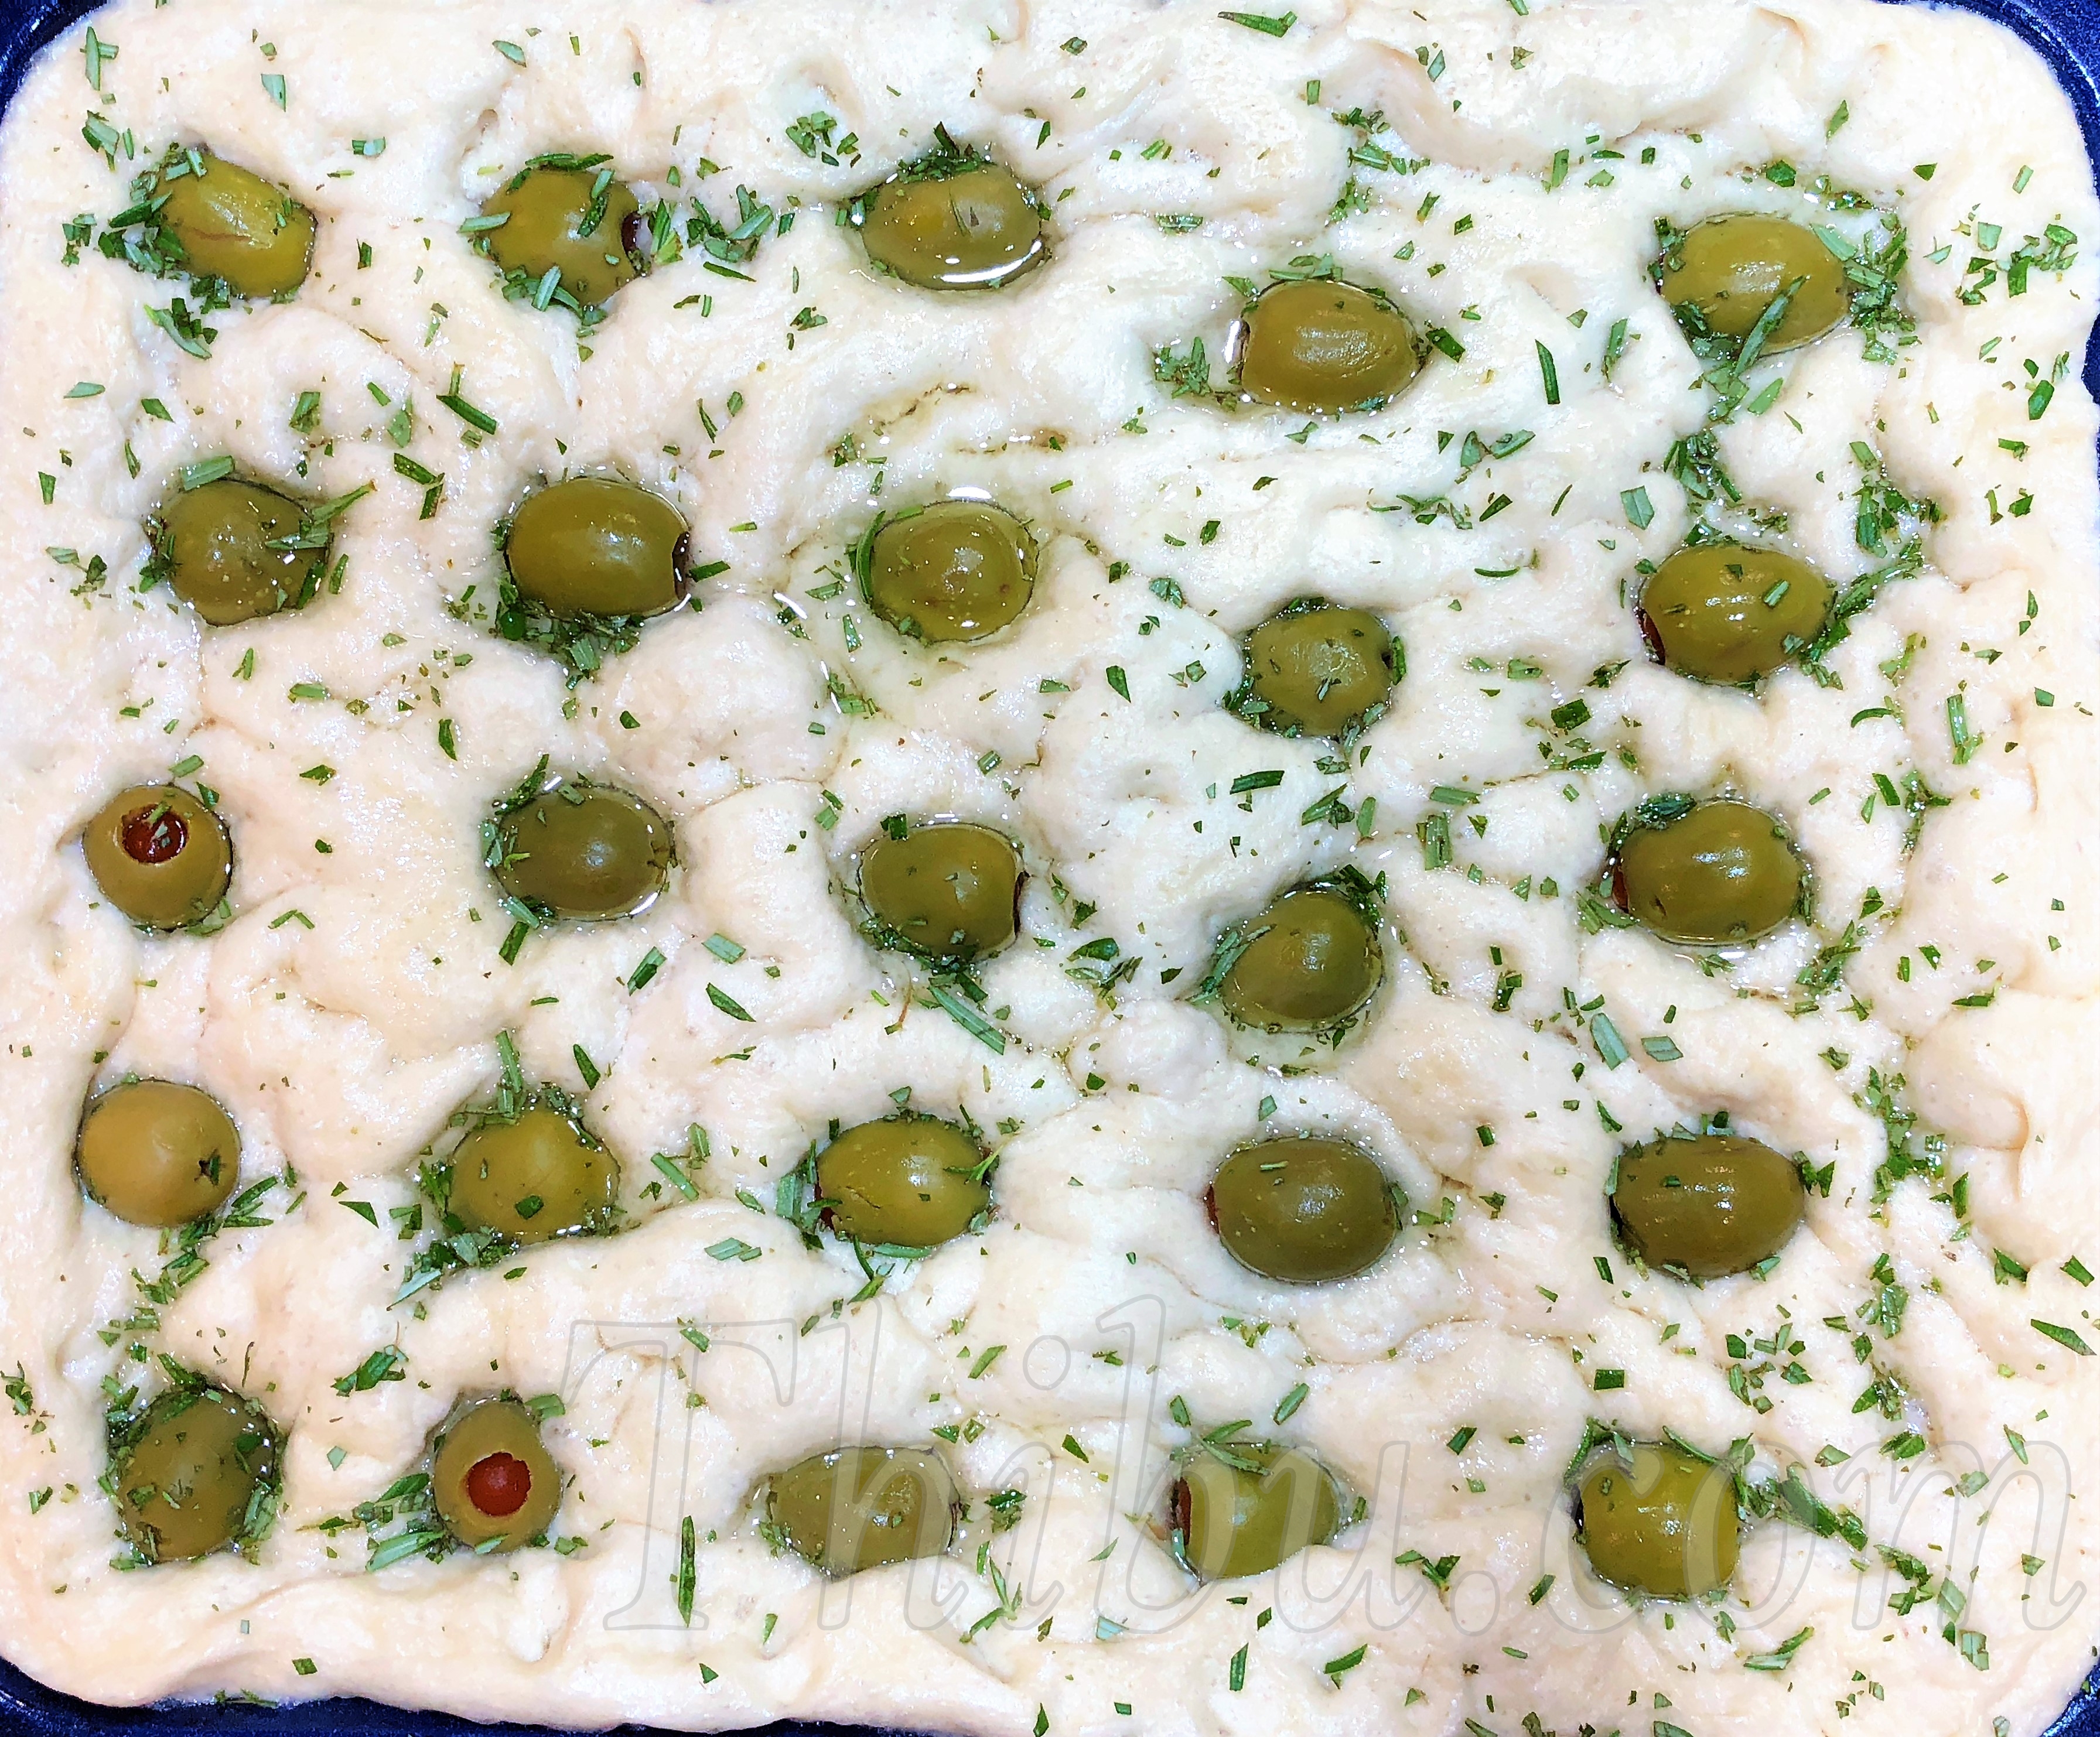
- In the meantime, place the Olives into the bread. And sprinkle the finely chopped Rosemary. Sprinkle the Coarse Salt (I didnt have on hand, so skipped). Drizzle another spoonful of Oil on the top. Yes, this bread takes atleast 1 cup Olive Oil. But that makes the bread crisp. And no butter is needed to be spread while eating or oil for dipping.
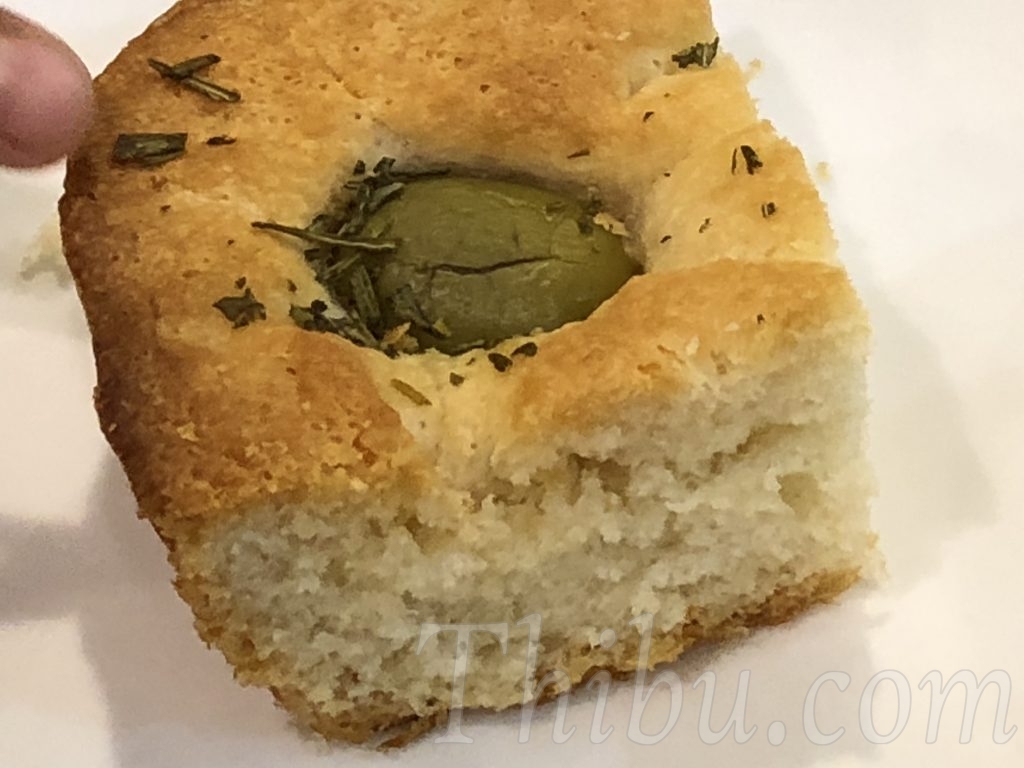
- Bake for about 20-25 minutes, until the top is browned. Cool on a rack or eat while it is hot! Enjoy 🙂
Below are the pictures for each step to guide you through the process.